+86+86-18903185773


+86+86-18903185773

CustomBrakeHoseRoutingDesignTipsforMotorcyclesandModifiedVehicles
Custom brake hose routing is an important part of motorcycle modification, vehicle customization, and brake line replacement projects. Even when the correct hose and fittings have been selected, an unsuitable routing path can create installation difficulties, unwanted contact with surrounding components, or excessive strain at the connections.
For motorcycle workshops, aftermarket brands, distributors, and custom vehicle builders, routing should be considered during the design stage rather than left until final installation. A clear routing plan helps define the required hose length, fitting orientation, mounting points, and clearance requirements before a custom brake hose assembly is ordered.
A brake hose follows a specific path between hydraulic connection points. That path may pass near the steering assembly, suspension, frame, wheels, engine, or other vehicle components. The available space can change as the vehicle moves, particularly on motorcycles with front suspension and steering movement.
A routing plan should account for both the vehicle's stationary configuration and its normal range of movement. A hose that appears correctly positioned when the motorcycle is parked may become stretched, pinched, twisted, or exposed to contact when the handlebars or suspension move.
For custom projects, consider the routing path, mounting locations, connection positions, and service requirements together. This is more effective than choosing a hose length based only on the distance between two connection points.
Hose length is one of the first details to confirm when ordering a custom assembly. However, measurements can vary depending on the reference points and the method used.
Before requesting a quotation, establish:
Do not assume that two suppliers will interpret a stated hose length in the same way. Provide a dimensioned drawing, clearly marked sample, or written measurement instructions. If the project includes angled fittings, identify the reference direction used to record each fitting angle.
Excessive length is not automatically safer than insufficient length. A hose that is too long may form loops, contact nearby components, or interfere with the intended installation. The objective is to establish the correct length for the approved routing path and operating movement.
Motorcycle brake hose routing requires particular attention around the steering head, front fork, handlebars, and front wheel. Depending on the design, the hose path may change as the handlebars turn or the suspension compresses and extends.
During design review, identify potential interference with:
For modified vehicles, also consider changes introduced by different handlebars, fork assemblies, suspension components, calipers, or mounting brackets.
Clearance should be evaluated through the applicable range of movement, using the vehicle manufacturer's procedures or an appropriate engineering validation method. A visual check at one steering position is not enough to confirm that the routing is suitable in every operating position.
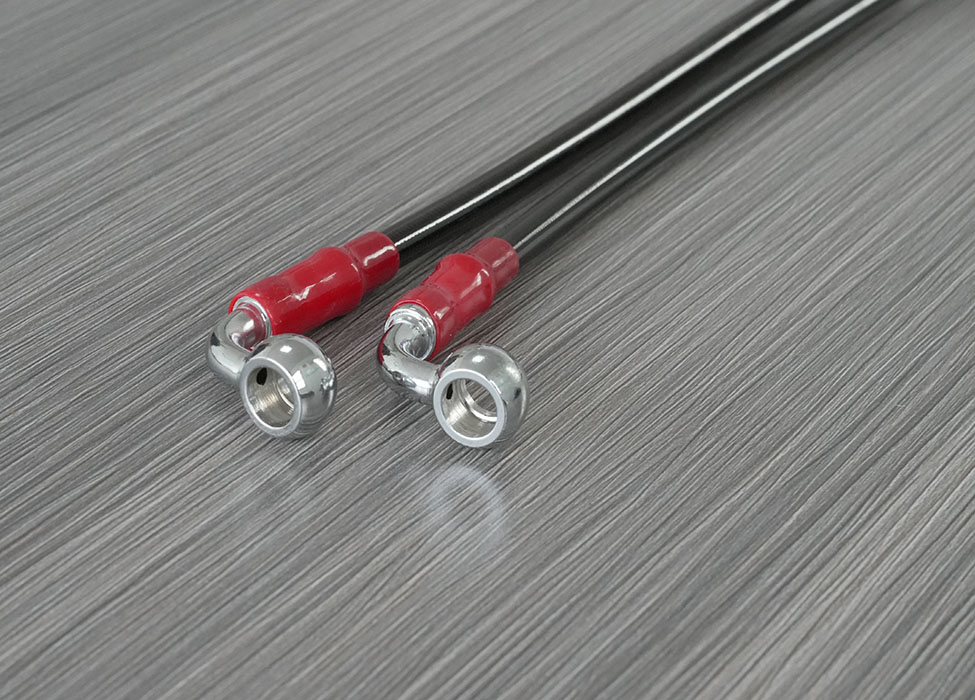
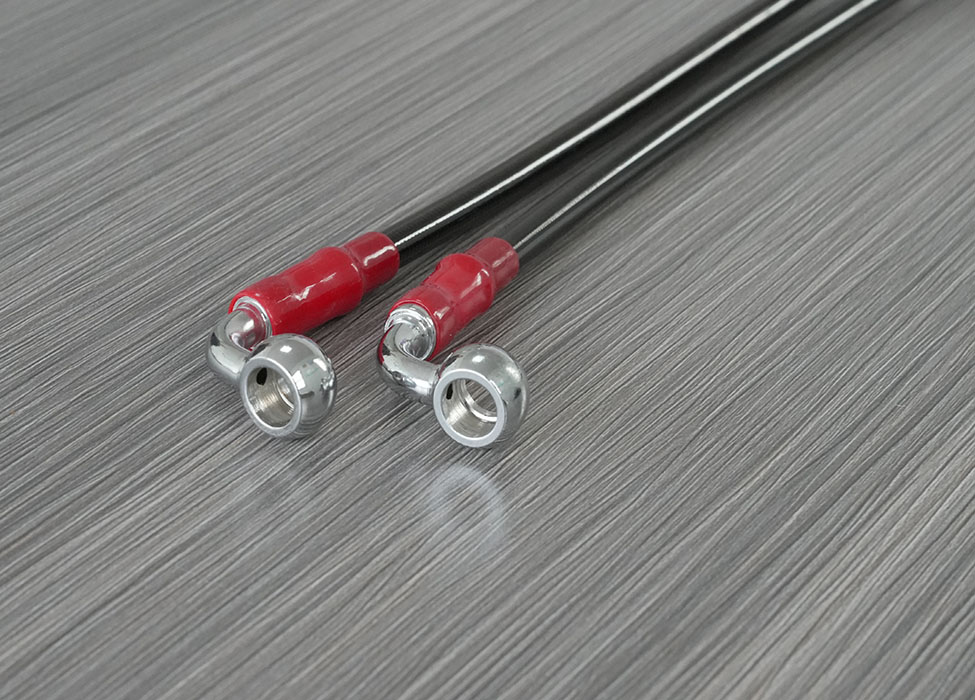
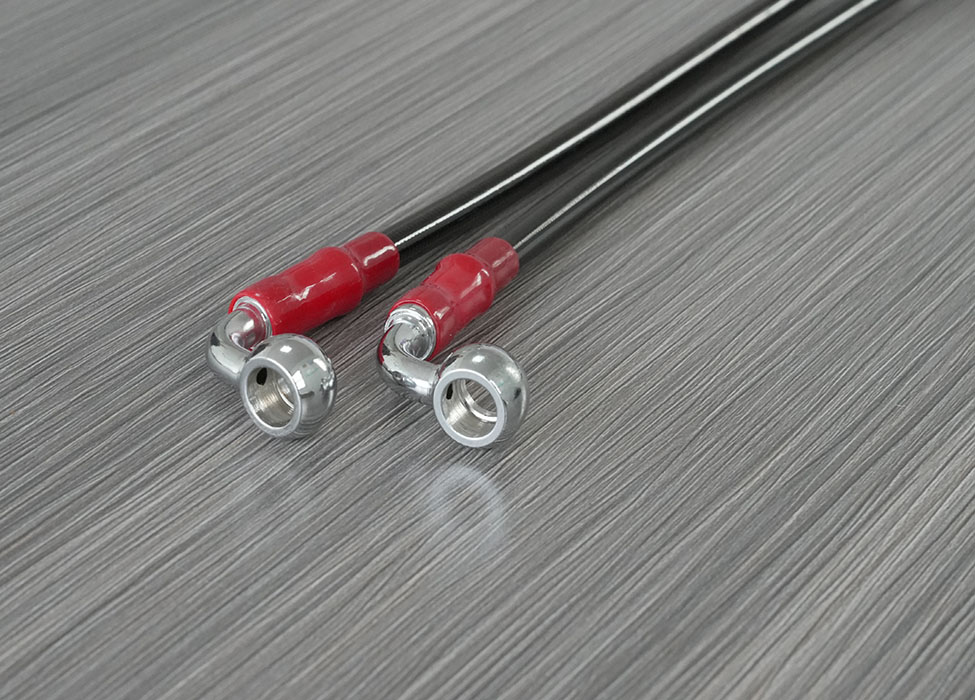
Fitting orientation affects how an assembled brake hose can be installed and routed. An unsuitable angle may force the hose into a tight bend, create unwanted twist, or make it difficult to reach the connection correctly.
When specifying a custom assembly, document the fitting configuration at both ends. Where relevant, include:
Photographs can help explain the intended configuration, but they should support rather than replace dimensional information. A drawing with clear reference points is usually easier to reproduce consistently for repeat orders.
If you are sourcing a complete PTFE Brake Line Assembly, confirm the fitting positions and required dimensions before production. Do not assume that a visually similar assembly will fit the same installation.
A custom routing path should allow the hose to sit naturally without forced twisting or sharp changes in direction. Installation should not require pulling the hose tightly into position or using the fittings to compensate for incorrect dimensions.
During the design and installation review, look for:
Any minimum bend radius or installation restriction specified by the hose manufacturer should be followed. Do not force a hose into a tighter bend than its documented requirements allow.
Protective sleeves or suitable routing guides may be appropriate in some applications, but they do not correct a fundamentally unsuitable hose path. The route itself must first be designed for the intended installation.
Mounting clips, guides, and brackets can help keep a hose in its intended position. Their locations should be considered as part of the routing design, not added arbitrarily after the hose has been installed.
Check that mounting points support the hose without crushing it or creating an excessively tight bend. The arrangement should also allow technicians to inspect the assembly and access nearby service components.
For production or aftermarket programs, document any special clips, brackets, sleeves, or installation hardware required. If these items are not included in the hose assembly quotation, clarify who will supply them.
A practical routing drawing can reduce repeated questions between the buyer, workshop, and manufacturer. It does not need to be unnecessarily complicated, but it should communicate the intended installation clearly.
Where applicable, include:
If the design is based on an existing hose, record any intended changes rather than assuming the replacement should copy every detail of the original. Modified handlebars, suspension, or brake components may require a different routing configuration.
The distance between two connection points may not represent the actual routing path. Measure according to the intended installation and the agreed reference points.
Steering and suspension movement can change the available space. Review the relevant movement range before approving the routing design.
Correct hose length alone does not guarantee correct installation. The fitting angles and connection geometry must also match the design.
Images can communicate general layout, but perspective makes it difficult to confirm exact length, angle, and clearance. Add measurements or a drawing wherever possible.
New handlebars, forks, calipers, or brackets can change the required hose path. Recheck the routing and assembly dimensions when the installation changes.
Define the measurement reference points, follow the intended routing path, and clarify whether the end fittings are included. Record the fitting orientation separately and check the required movement and clearance before approving the dimensions.
An original hose can be a useful reference if its configuration is known to be suitable for the intended application. If the vehicle has been modified, review the routing and dimensions rather than copying the original assembly automatically.
Fitting orientation affects installation direction, hose routing, and the amount of twist or bending required. Specify the angle and its reference direction to reduce ambiguity.
The assembly should accommodate the required movement without becoming taut, pinched, or improperly routed. The necessary length depends on the vehicle design and should be established through appropriate measurement and validation rather than an arbitrary allowance.
Accurate routing information makes it easier to specify a custom assembly for motorcycle modifications, automotive aftermarket projects, and other applications. A drawing or sample with clear dimensions and fitting details can help the supplier review the requested configuration.
Explore our PTFE Brake Line Assembly, Teflon Brake Hose, and Nylon Brake Hose product categories for more information.
For custom dimensions, fitting configurations, wholesale orders, or OEM inquiries, please contact our team. Include your application, drawing or sample reference, expected quantity, and target market when requesting a quotation.
Wholesale Brake Line & Brake Hose Supplier | Bulk Orders Only
 Hengshui City, Hebei, China.
 +86+86-18903185773